Open Today Sales: 9 AM-6 PM


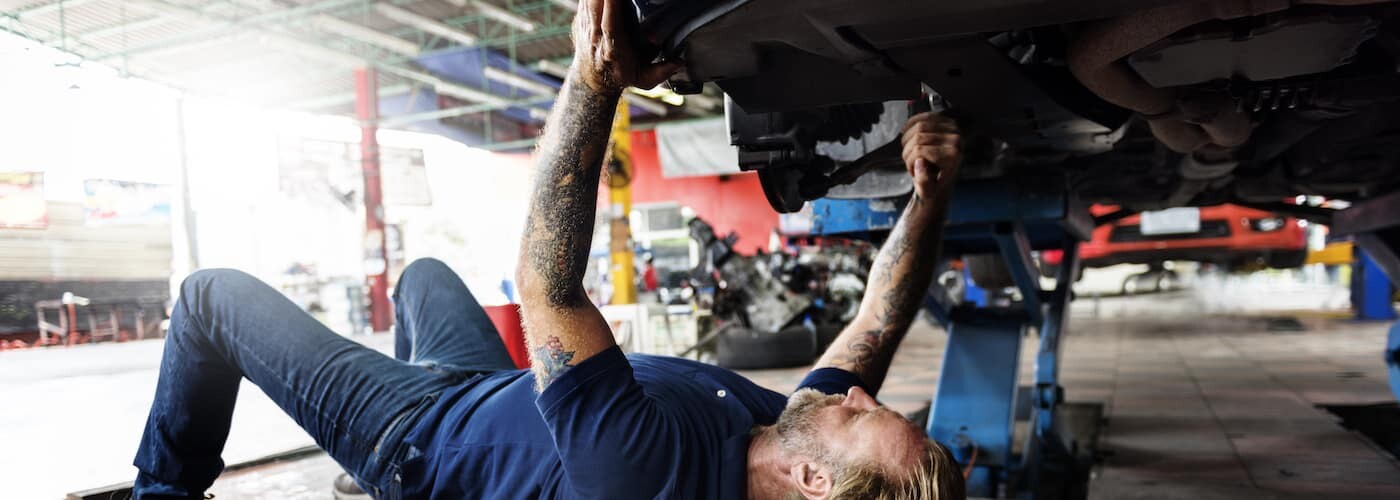
Learning how to bleed brakes is one of the most important brake services for your vehicle’s braking system. An air bubble trapped in your brake lines can negatively affect your vehicle’s braking performance. Although the process of how to bleed brake lines is time-consuming, it is a relatively straightforward task. While we highly recommend scheduling an appointment at the Parkway Honda service center, we offer this guide to teach you how to bleed brakes by yourself for all of our New Philadelphia and Uhrichsville customers.
Although learning how to bleed brakes may sound overwhelming, it’s an important part of caring for your car’s brakes. Over time, the moisture resistance of brake fluid wears down, leading to water entering the brake lines. Air can also enter the brake system, especially after replacing the brake fluid. This causes the brake pedal to feel “soft” or “spongy” when you press it. Bleeding the brakes helps remove any trapped air, giving your brake pedal a firmer feel.
First, you’ll need brake fluid, a box-end wrench, a fluid holder and tubing, and an assistant to help you. Once you’ve acquired the required items, follow these steps:
Consult your owner’s manual to ensure you buy the correct brake fluid for your vehicle. There are many types of brake fluid for various manufacturers or vehicle use, so you must find the right type for your vehicle. Your owner’s manual will also tell you the replacement interval for your vehicle’s brake fluid.
Always park on solid and level ground before jacking up your car. Ensure your jack stands are in place, move the floor jack out of your way, and remove your wheels.
Find the caliper bleeding screw near each wheel and loosen them. (If they don’t loosen immediately, spray the screw with penetrating oil and wait about 30 minutes before giving it another try. Do not twist hard with the wrench. If the screw strips or snaps, don’t go any further — bring your car to our service center immediately.)
After loosening all four screws, tighten them again. You bleed brake lines one brake at a time, so the other three screws need to be tight to avoid air bubbles.
Check the master cylinder reservoir’s brake fluid level. (Usually found in the engine compartment on the firewall near the driver’s side.) Ensure your car has the appropriate amount of fluid and that the brake fluid is clear. Unscrew the master cylinder cap, but leave it resting in place, while you bleed the brakes. Normally, you will begin by bleeding the brake fluid from the brake furthest from the master cylinder. You’ll want to bleed the brake furthest from the master cylinder. (Some vehicles may have a different order, so check your owner’s manual.)
Put the end of a piece of clear ¼’-inch diameter tubing over the first bleeder screw and the other end into a container to catch the used brake fluid. You can find an inexpensive brake bleeder kit from your local parts store, or order one online. The tubing needs to be long enough that you can move the container above the bleeder screw to catch any air caught in the tube doesn’t move back into the brake caliper
With the engine off, have your assistant pump the brake pedal several times until they feel resistance in the brake pedal. Have them keep pressure on the pedal while you open the bleeder screw a bit to allow fluid to move through the tube. This will cause the pedal to move closer to the floor. Have your assistant maintain pressure.
When your assistant tells you that the pedal is moving toward the floor, close the bleeder screw immediately. Inspect the fluid in the master cylinder reservoir to see if you need to add more brake fluid.
Repeat the previous two steps about five times at each bleeder screw, or until there are no bubbles in the fluid stream.
Repeat steps 7, 8, and 9 on the other three bleeder screws in the correct order. (Furthest from the master cylinder to closest.)
Once you’ve finished bleeding your brakes, have your assistant apply the brakes and then quickly release the pedal. Watch the fluid in the master cylinder reservoir, while they pump the brake pedal. If there’s still air in the system, then the fluid will bubble significantly. You will have to repeat the process for all four brake bleeders. However, if the fluid is moving only slightly, you’ve bled the brakes fully.
Tighten each of the bleeder screws before putting the wheels back on your car. Don’t use all of your strength — just apply enough pressure to ensure they’re closed.
If after learning how to bleed brake lines, you are not comfortable with the process of how to bleed brakes by yourself, reach out to our service department to schedule an appointment for brake service with the professional team at Parkway Honda near Coshocton. Be sure to browse our service specials for opportunities to save!
Parkway Honda – Honda CR-V Hybrid or Honda Accord Hybrid: Which Fits Your Drive near Canton, OH? If you live near Canton, OH and want a new Honda with strong fuel efficiency, refined comfort, and everyday practicality, two models tend to rise to the top of the shopping list: the Honda CR-V Hybrid and the…
Parkway Honda – Which New Honda SUV Fits Dover, OH Drivers Best: HR-V, CR-V, Passport, or Pilot in Dover, OH Choosing a new Honda SUV in Dover, OH is less about finding one “best” model and more about matching the right size, capability, seating, and technology to your daily life. A driver commuting along I-77…
Parkway Honda – Honda Odyssey vs. Honda Pilot for Family Driving near Wooster, OH For many families near Wooster, OH, the real question is not whether a Honda can handle daily life – it is which Honda fits best. Two of the strongest choices are the Honda Odyssey minivan and the Honda Pilot three-row SUV….
